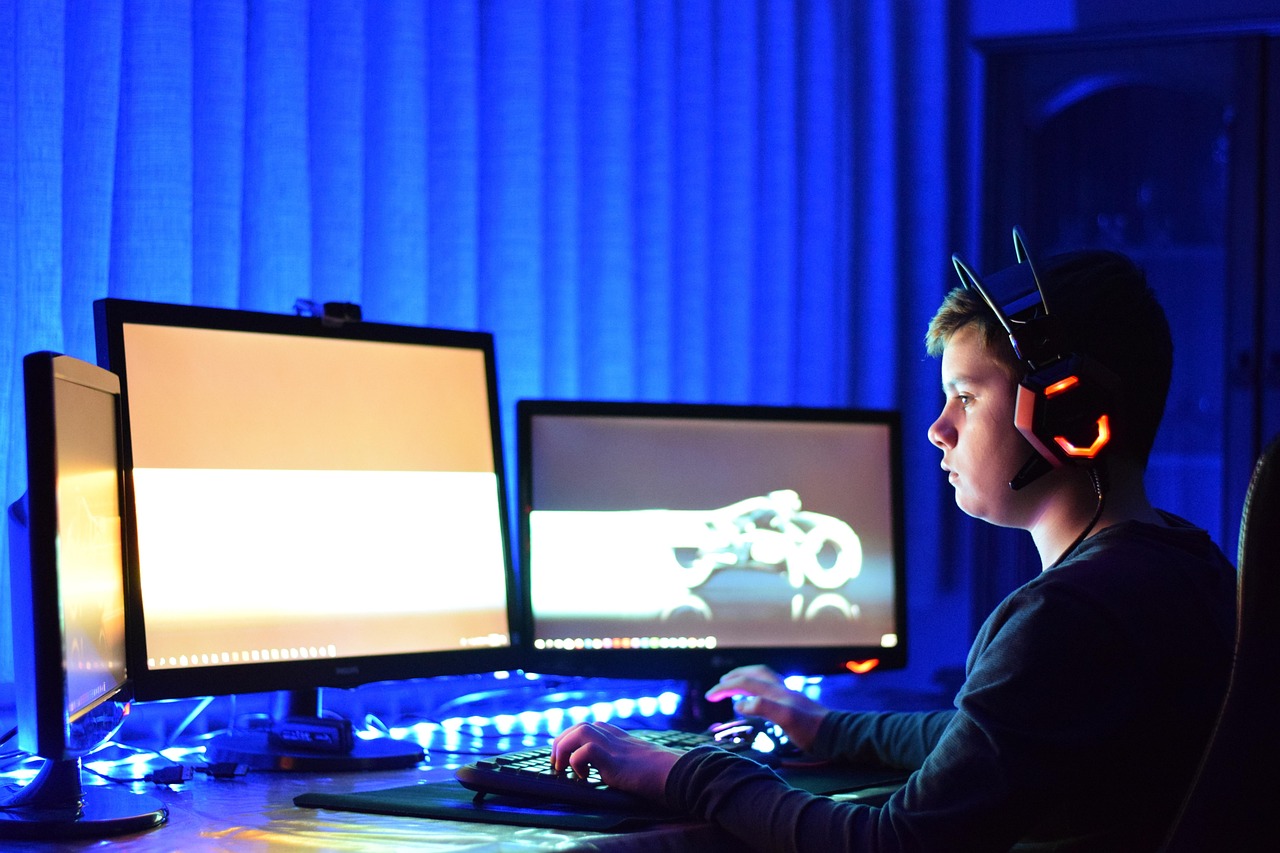
Building your first gaming PC may seem complicated, but it is one of the most rewarding projects for any gamer. Instead of buying a prebuilt system, building your own computer gives you complete control over performance, appearance, and future upgrades. It also helps you understand how every component works together, making troubleshooting and maintenance much easier.
Modern PC components are more beginner-friendly than ever. Most parts are designed to fit together without complicated tools or technical knowledge. With careful planning and the right hardware, you can build a gaming PC that delivers excellent performance for years.
This guide explains everything you need to know, from choosing components to assembling your first gaming computer.
Why Build Your Own Gaming PC?
Many gamers choose to build their own computers because it offers several advantages over buying a prebuilt system.
Some of the biggest benefits include:
- Better value for your budget
- Easier upgrades in the future
- Freedom to choose every component
- Improved cooling options
- Personalized design with custom cases and lighting
- Better understanding of your computer's hardware
Whether you want smooth 1080p gaming or high-end 4K performance, building your own system allows you to prioritize the parts that matter most.
Decide Your Budget First
Before buying any components, determine how much you want to spend.
A realistic budget helps you avoid overspending on one part while neglecting another. For example, buying the fastest graphics card while pairing it with an outdated processor can create performance bottlenecks.
A balanced gaming PC usually includes:
- Processor (CPU)
- Graphics card (GPU)
- Motherboard
- Memory (RAM)
- Storage
- Power supply
- PC case
- Cooling solution
Once your budget is clear, divide it across these components according to your gaming goals.
Choosing the Right Processor
The processor is the brain of your computer. It handles game logic, background applications, streaming, and multitasking.
Today's gaming PCs commonly use processors with six to eight cores, which provide excellent gaming performance while leaving room for streaming or content creation.
When selecting a processor, make sure it is compatible with your motherboard's socket type.
A powerful CPU also helps future-proof your system as newer games continue to increase processor demands.
Selecting the Best Graphics Card
For gaming, the graphics card has the biggest impact on performance.
Your GPU determines frame rates, visual quality, and support for modern technologies such as ray tracing and AI-powered upscaling.
When shopping for a graphics card, consider:
- Your monitor resolution
- Refresh rate
- Power requirements
- Available VRAM
- Cooling design
If you mainly play competitive games at 1080p, a mid-range graphics card is often sufficient. Players interested in ultra settings or 4K gaming should invest more of their budget into the GPU.
Picking a Compatible Motherboard
The motherboard connects every component inside your PC.
While expensive motherboards offer additional features, beginners usually only need a reliable board with:
Sufficient USB Ports
Multiple USB ports make connecting gaming accessories much easier.
Fast Storage Support
Look for support for modern NVMe SSDs to achieve quick game loading times.
Wi-Fi and Bluetooth
Integrated wireless connectivity eliminates the need for extra adapters.
Upgrade Options
Choose a motherboard that provides extra RAM slots and expansion slots for future upgrades.
How Much RAM Do You Need?
RAM temporarily stores data that your computer actively uses.
For modern gaming:
- 16GB is the current minimum recommendation.
- 32GB is ideal for gaming while streaming, editing videos, or running multiple applications.
Using two matching memory sticks instead of one enables dual-channel performance, which can slightly improve gaming speed.
Choosing Storage
Storage affects loading times rather than gaming performance itself.
An NVMe SSD should always be your primary drive because it loads Windows and games significantly faster than older hard drives.
Many gamers use:
- A 1TB NVMe SSD for Windows and favorite games
- An additional SSD or HDD for larger game libraries
As modern games continue to grow in size, having enough storage prevents frequent uninstallations.
Selecting a Reliable Power Supply
The power supply powers every component inside your PC.
Never choose the cheapest option.
A high-quality power supply offers:
- Stable power delivery
- Better efficiency
- Improved safety
- Longer lifespan
- Easier future upgrades
Choose a unit with enough wattage to support your graphics card and future hardware additions.
Modular power supplies also reduce cable clutter, improving airflow inside the case.
Choosing the Right PC Case
A good case is more than just appearance.
It affects cooling, cable management, and upgrade flexibility.
Look for features such as:
- Excellent airflow
- Dust filters
- Cable routing channels
- Enough room for your graphics card
- Space for additional cooling fans
Mesh-front cases have become increasingly popular because they allow better airflow during long gaming sessions.
Cooling Your Gaming PC
Gaming generates significant heat.
Proper cooling ensures stable performance and extends component lifespan.
Most beginner systems work perfectly with quality air coolers.
Liquid cooling offers attractive aesthetics and improved cooling potential, but it usually costs more and requires additional planning.
Install intake and exhaust fans to create balanced airflow throughout your case.
Step-by-Step Assembly Process
Building a gaming PC becomes much easier when you follow a logical order.
Step 1: Install the Processor
Carefully align the processor with the motherboard socket and lock it into place.
Step 2: Install the RAM
Insert the memory modules into the recommended slots until they click securely.
Step 3: Install the SSD
Secure the NVMe SSD into the motherboard's storage slot.
Step 4: Mount the CPU Cooler
Apply thermal paste if required, then attach the cooler according to its instructions.
Step 5: Install the Motherboard
Place the motherboard inside the case and fasten it using the included screws.
Step 6: Install the Power Supply
Secure the PSU and connect only the cables you'll need.
Step 7: Install the Graphics Card
Insert the graphics card into the primary PCIe slot and secure it firmly.
Step 8: Connect Power and Front Panel Cables
Attach motherboard power, CPU power, storage cables, front USB, audio, and power button connectors.
Step 9: Organize the Cables
Use cable ties to improve airflow and keep the interior neat.
First Boot and BIOS Setup
After assembling your computer, power it on.
If everything is connected correctly, you should reach the motherboard's BIOS.
Inside the BIOS:
- Confirm all hardware is detected.
- Enable the RAM's performance profile.
- Check CPU temperatures.
- Set your SSD as the primary boot drive.
- Update the BIOS if a newer stable version is available.
These simple steps help maximize system performance from the beginning.
Installing Windows and Drivers
After installing your operating system, download the latest drivers for:
- Graphics card
- Motherboard chipset
- Audio
- Network adapters
Keeping drivers updated improves stability, compatibility, and gaming performance.
Common Beginner Mistakes to Avoid
Many first-time builders make simple mistakes that are easy to prevent.
Avoid these common issues:
- Forgetting to remove protective plastic from the CPU cooler
- Installing RAM in the wrong slots
- Buying incompatible components
- Choosing a low-quality power supply
- Ignoring airflow inside the case
- Forgetting motherboard standoffs
- Not connecting CPU power cables
- Applying too much thermal paste
Taking your time during assembly helps prevent costly errors.
Planning for Future Upgrades
One advantage of building your own PC is that upgrades become straightforward.
In the future, you can improve your system by adding:
- More RAM
- Larger SSDs
- A faster graphics card
- Better cooling
- Additional case fans
- A newer processor if your motherboard supports it
Planning ahead saves money and extends the life of your gaming PC.
While researching component combinations, many beginners enjoy reading build experiences shared by communities such as smashsquad, where gamers discuss hardware choices, performance expectations, and setup tips from real-world use.
For broader technology trends, buying advice, and general computing topics beyond gaming, readers often explore resources like magazine panda to stay informed about the latest developments in consumer technology.
Final Thoughts
Building your first gaming PC may seem intimidating, but it becomes much easier when you understand each component and follow a step-by-step approach. By choosing compatible hardware, focusing on balanced performance, and assembling everything carefully, you can create a system tailored to your gaming needs.
A well-built gaming PC not only delivers excellent performance today but also provides the flexibility to upgrade in the future. With patience, proper planning, and attention to detail, your first custom build can become a reliable machine that handles modern games smoothly while giving you the satisfaction of creating it yourself.